You can load data from JSON file either by uploading the file or from a URL
Jump to:
| Table of Contents | ||
|---|---|---|
|
Getting Started
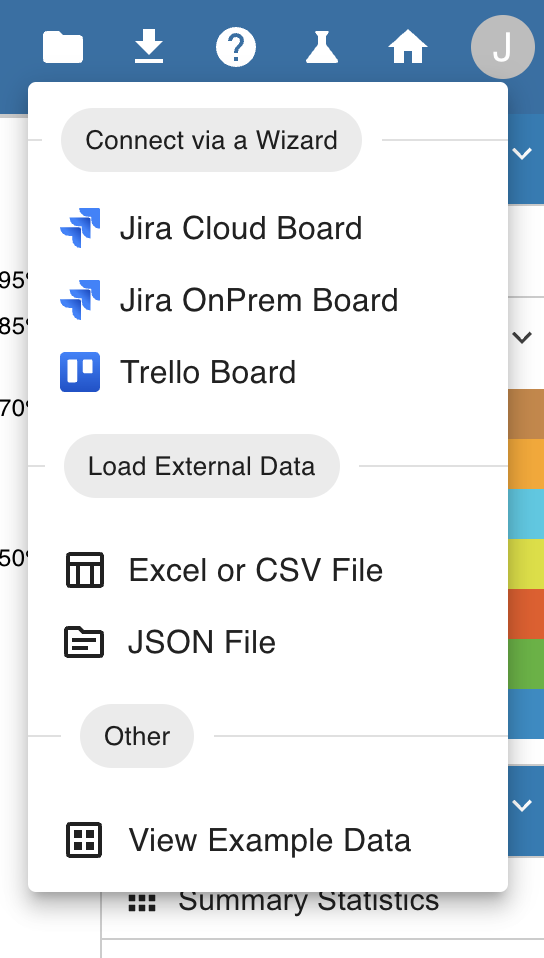
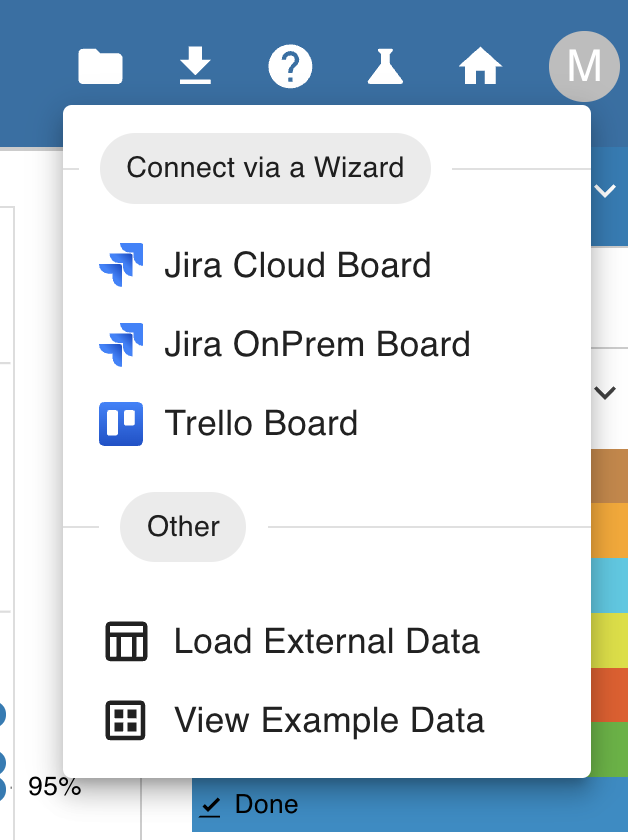
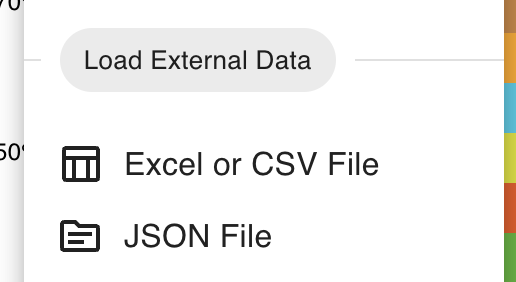
You begin by navigating to the Data icon in the top right of the gray navigation bar. When you click on the icon, click on the option named “JSON file” “Load External Data” to load a JSON file or “Excel or CSV File” to load a URL.
From a File
 After you click on “JSON File” in the dropdown, your file browser will open. Select the file you’d like to upload and click the “Open” button (or similar button on your browser)
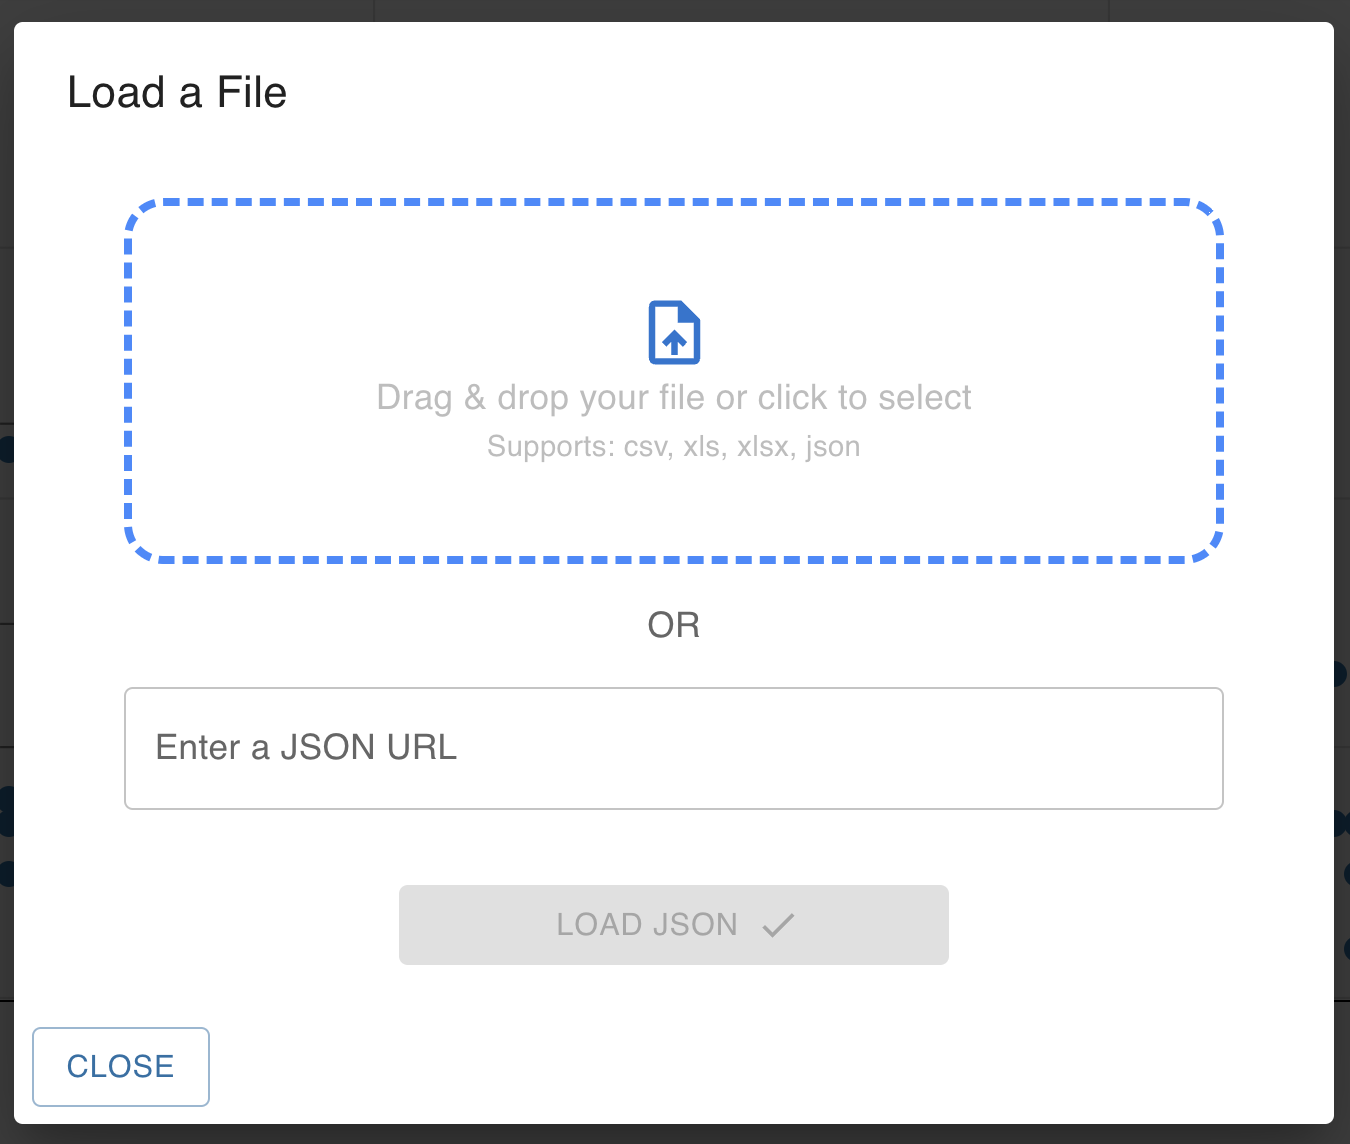
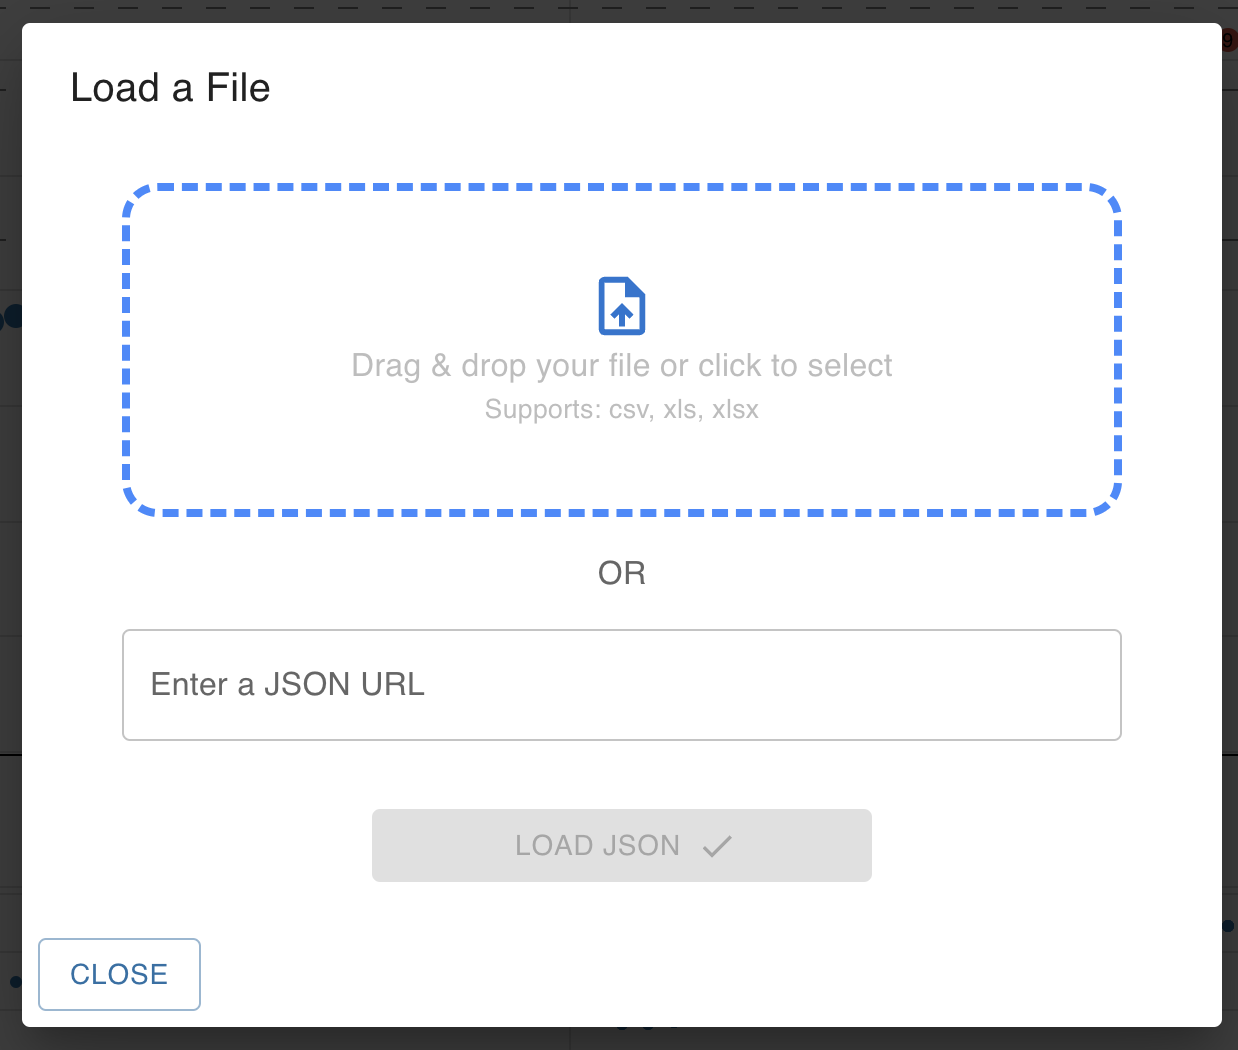
You can either drag and drop your file or click on the file icon to open your file loader and select which file to load.
Your data will now be loaded if the format is as expected. If not, please read the below section, adjust your file per the format requirements below and try again.
| Note |
|---|
Your JSON file need to have the “.json” extension to be valid |
From a URL
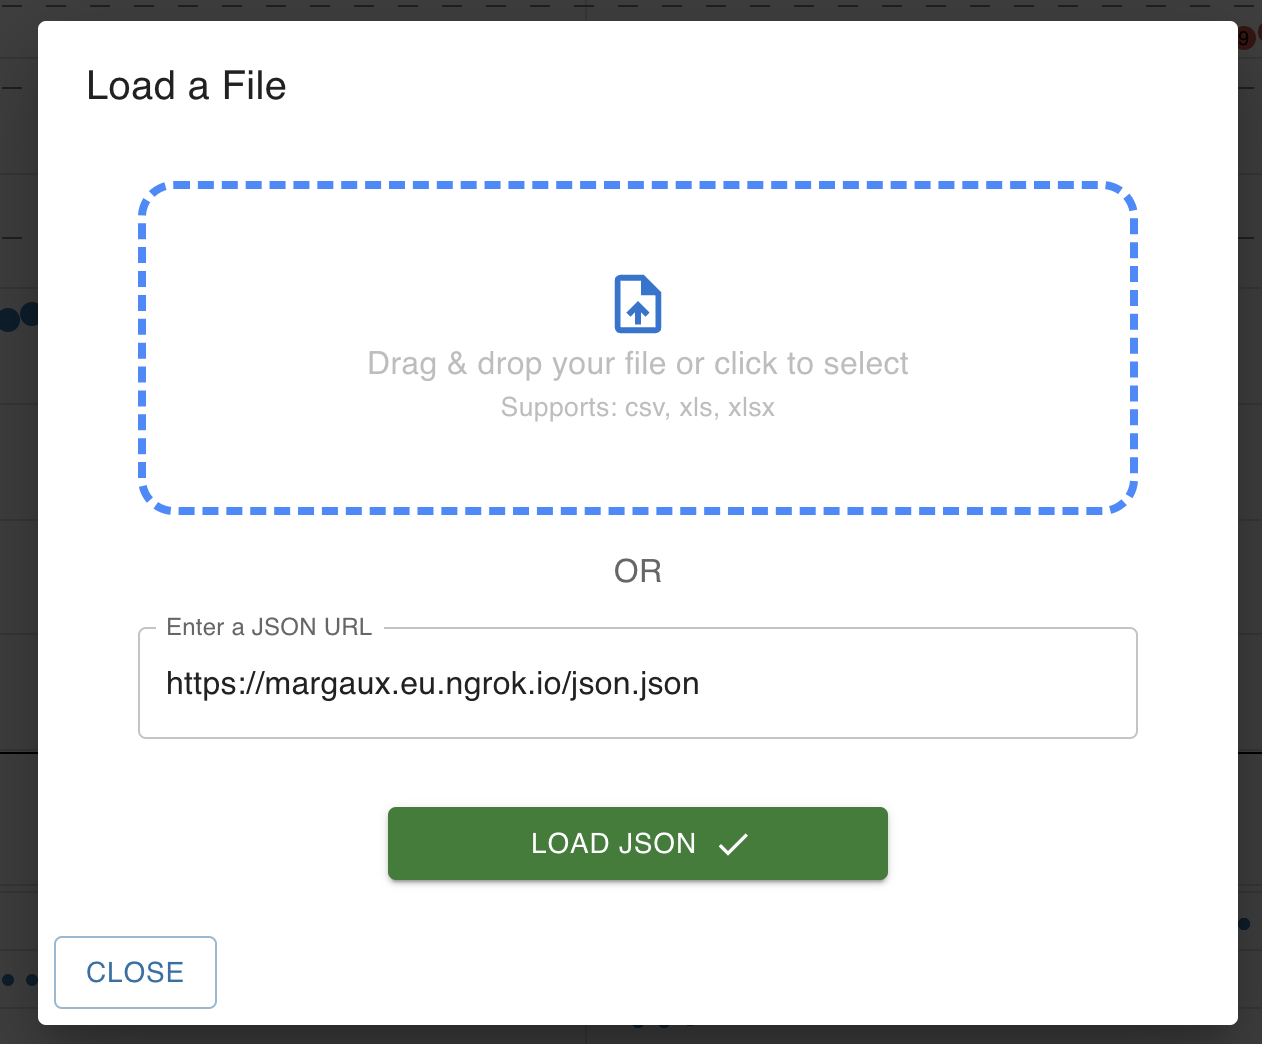
You’ll need to provide the fully qualified URL including http:// or https://.
The URL will then be checked:
If the URL is correct, you can then click on Load JSON
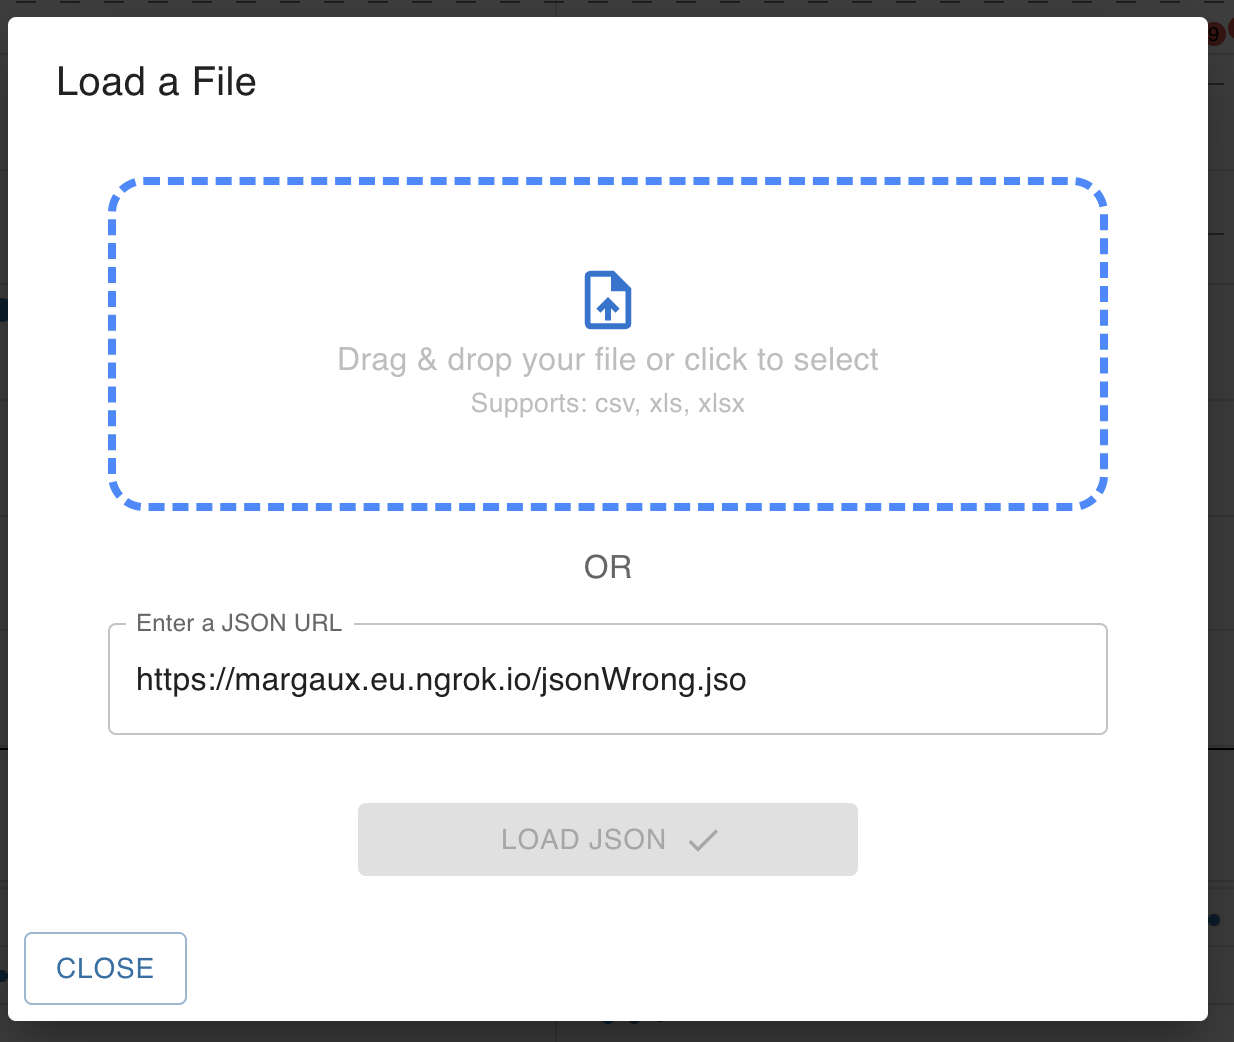
If URL is incomplete, you won’t be able to continue
| Note |
|---|
Your JSON file need to have the “.json” extension to be valid |
When loading your data, the loaders (either file or URL) will check your data for formatting errors, if an issue is found, a warning message will pop up.
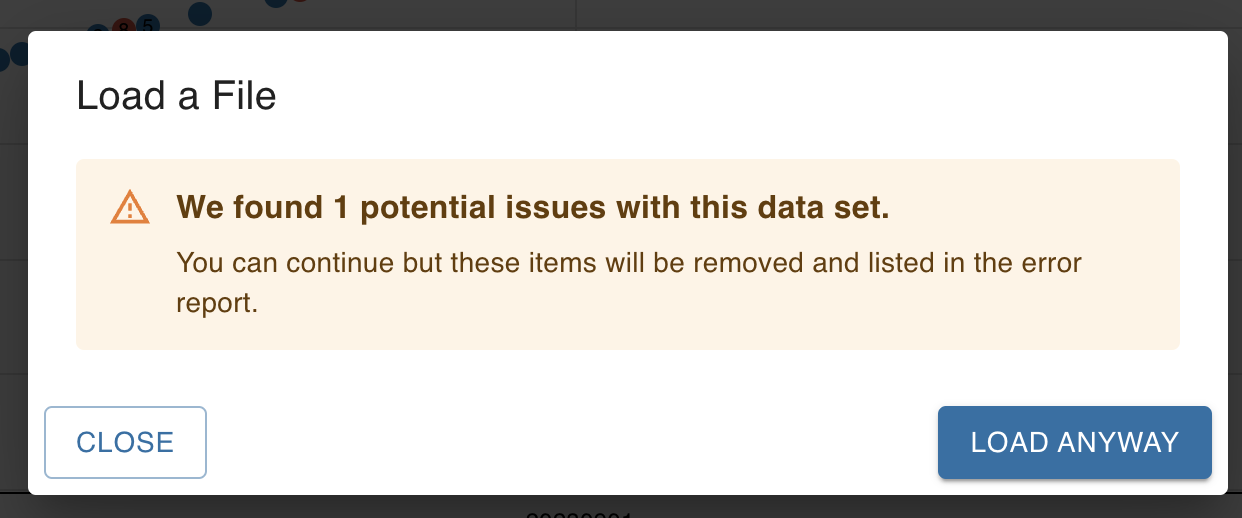
You can still continue and load your data anyway, the errors can still be found in the header when clicking on the warning sign:
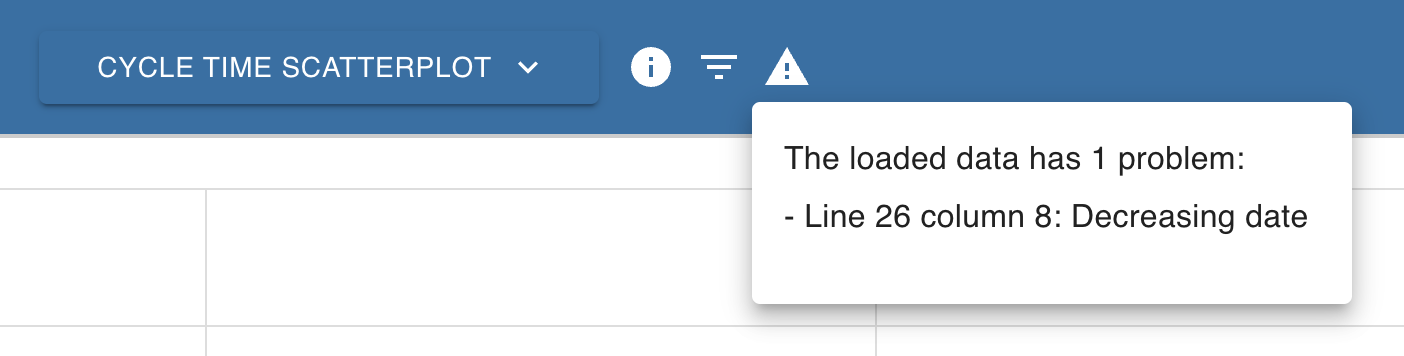
| Note |
|---|
The warning sign only appears when there is an issue with the data |
File Format Requirements
The JSON file format can be created by converting a CSV file to JSON. The file will be an array of arrays. JSON files must conform to the following data formatting rules:
First array
This first array contains the header (aka label) for the each of the array values of the other arrays in the file. These headers cannot have new lines, unclosed quotes, or special characters.
This is the how you must setup the arrays:
The first value in the array must be an item ID field and must have uppercase “ID” somewhere in the column name.
The second value in the array is optional, but if included, it must be called “link”.
The third value in the array is optional, but if included, must have the word “title” or “name” somewhere in the column name.
The next set of contiguous values in the array must be the sequential steps of your workflow. A backlog step is optional, but if you include it, it must be the first column of your workflow, and it must have the word “backlog” somewhere in the column title.
Array values after the workflow steps labels for any metadata you want to include for Item Filtering in ActionableAgile. Each of these values will be treated as an “attribute” field that can be filtered on (e.g., work item type, project id, team name, etc.).
Right now, to allow the app to differentiate between generic attributes and workflow steps, the first of these values should NOT be a date type. We are looking to make this unnecessary in future.
The remaining arrays
These are the values for the headers set up in the first array. There should be one array per individual work item.
This is the how you must setup the arrays:
The first value in the array the unique identifier for your work item.
The second value in the array must contain a hyperlink. This hyperlink could be to the item’s location in your Agile tool. If you don’t have this information in your data, add an empty column with the name “link”.
The third value in the array is optional, but if included, it must be the item’s title (or name) field.
The next set of contiguous values in the array contain the last date the item entered each workflow step. If an item moves backwards we suggest you remove the timestamp from the step it is leaving so that the Cumulative Flow Diagram displays properly.
Array values after the workflow steps The value of each particular piece of metadata for the particular work item. The first should not be a date field.
Examples
Example JSON code
| Code Block |
|---|
[["ID","Name","Dev","Test","Prod","blocked"], ["1001","Sample 1","09/01/2016","09/01/2016","09/06/2016","2"], ["1002","Sample 2","09/02/2016","09/07/2016","09/10/2016","0"], ["1003","Sample 3","09/02/2016","","","0"], ["1004","Sample 4","09/02/2016","09/05/2016","09/05/2016","0"], ["1005","Sample 5","09/05/2016","09/11/2016","","0"], ["1006","Sample 6","09/08/2016","09/12/2016","09/19/2016","0"], ["1007","Sample 7","09/08/2016","09/09/2016","09/10/2016","0"], ["1008","Sample 8","09/11/2016","09/15/2016","09/22/2016","0"], ["1009","Sample 9","09/12/2016","09/17/2016","","0"], ["1010","Sample 10","09/13/2016","","","0"]] |
Downloadable template file
| View file | ||
|---|---|---|
|
If you have any questions about this, please submit them to our help desk.