Everything you need to know about Managing Data Sets in ActionableAgile all in one place!
Who has access to Data Sharing?
JIRA SERVER & JIRA DATA CENTERcustomers. Please make sure you have installed the latest version. Please note that Data Sharing is not yet available for users of Jira Cloud
What you’ll find in this document:
Finding and Viewing Your Data Sets
We've made it simple to find your data sets, no snooping required 🕵️♂️ .


Editing and Deleting Your Data Sets
Relevant versions of ActionableAgile for Jira
CLOUD ON-PREM V4.0 AND LATER
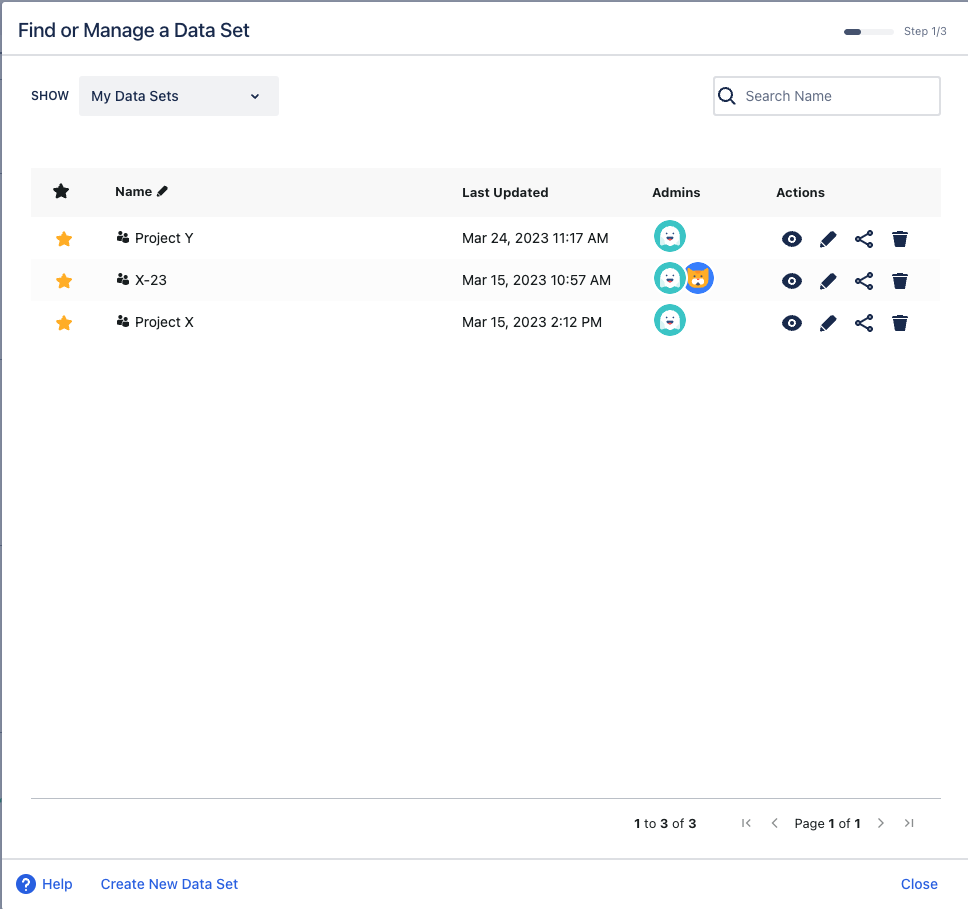
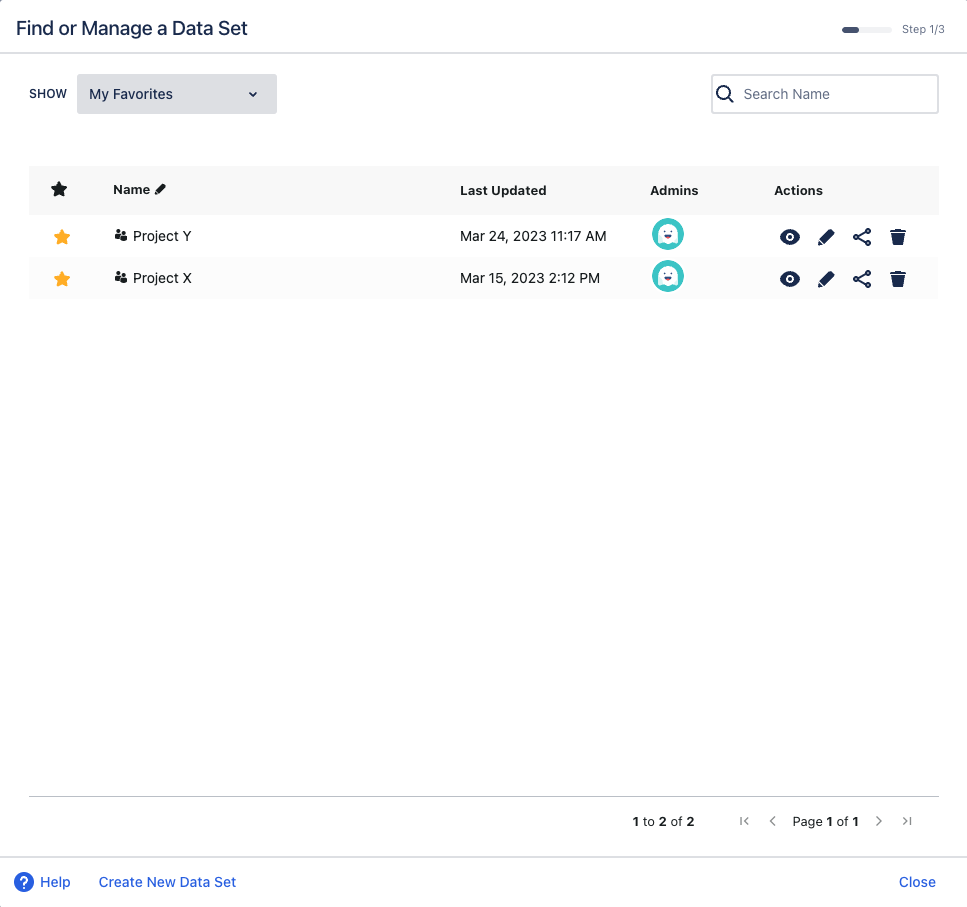
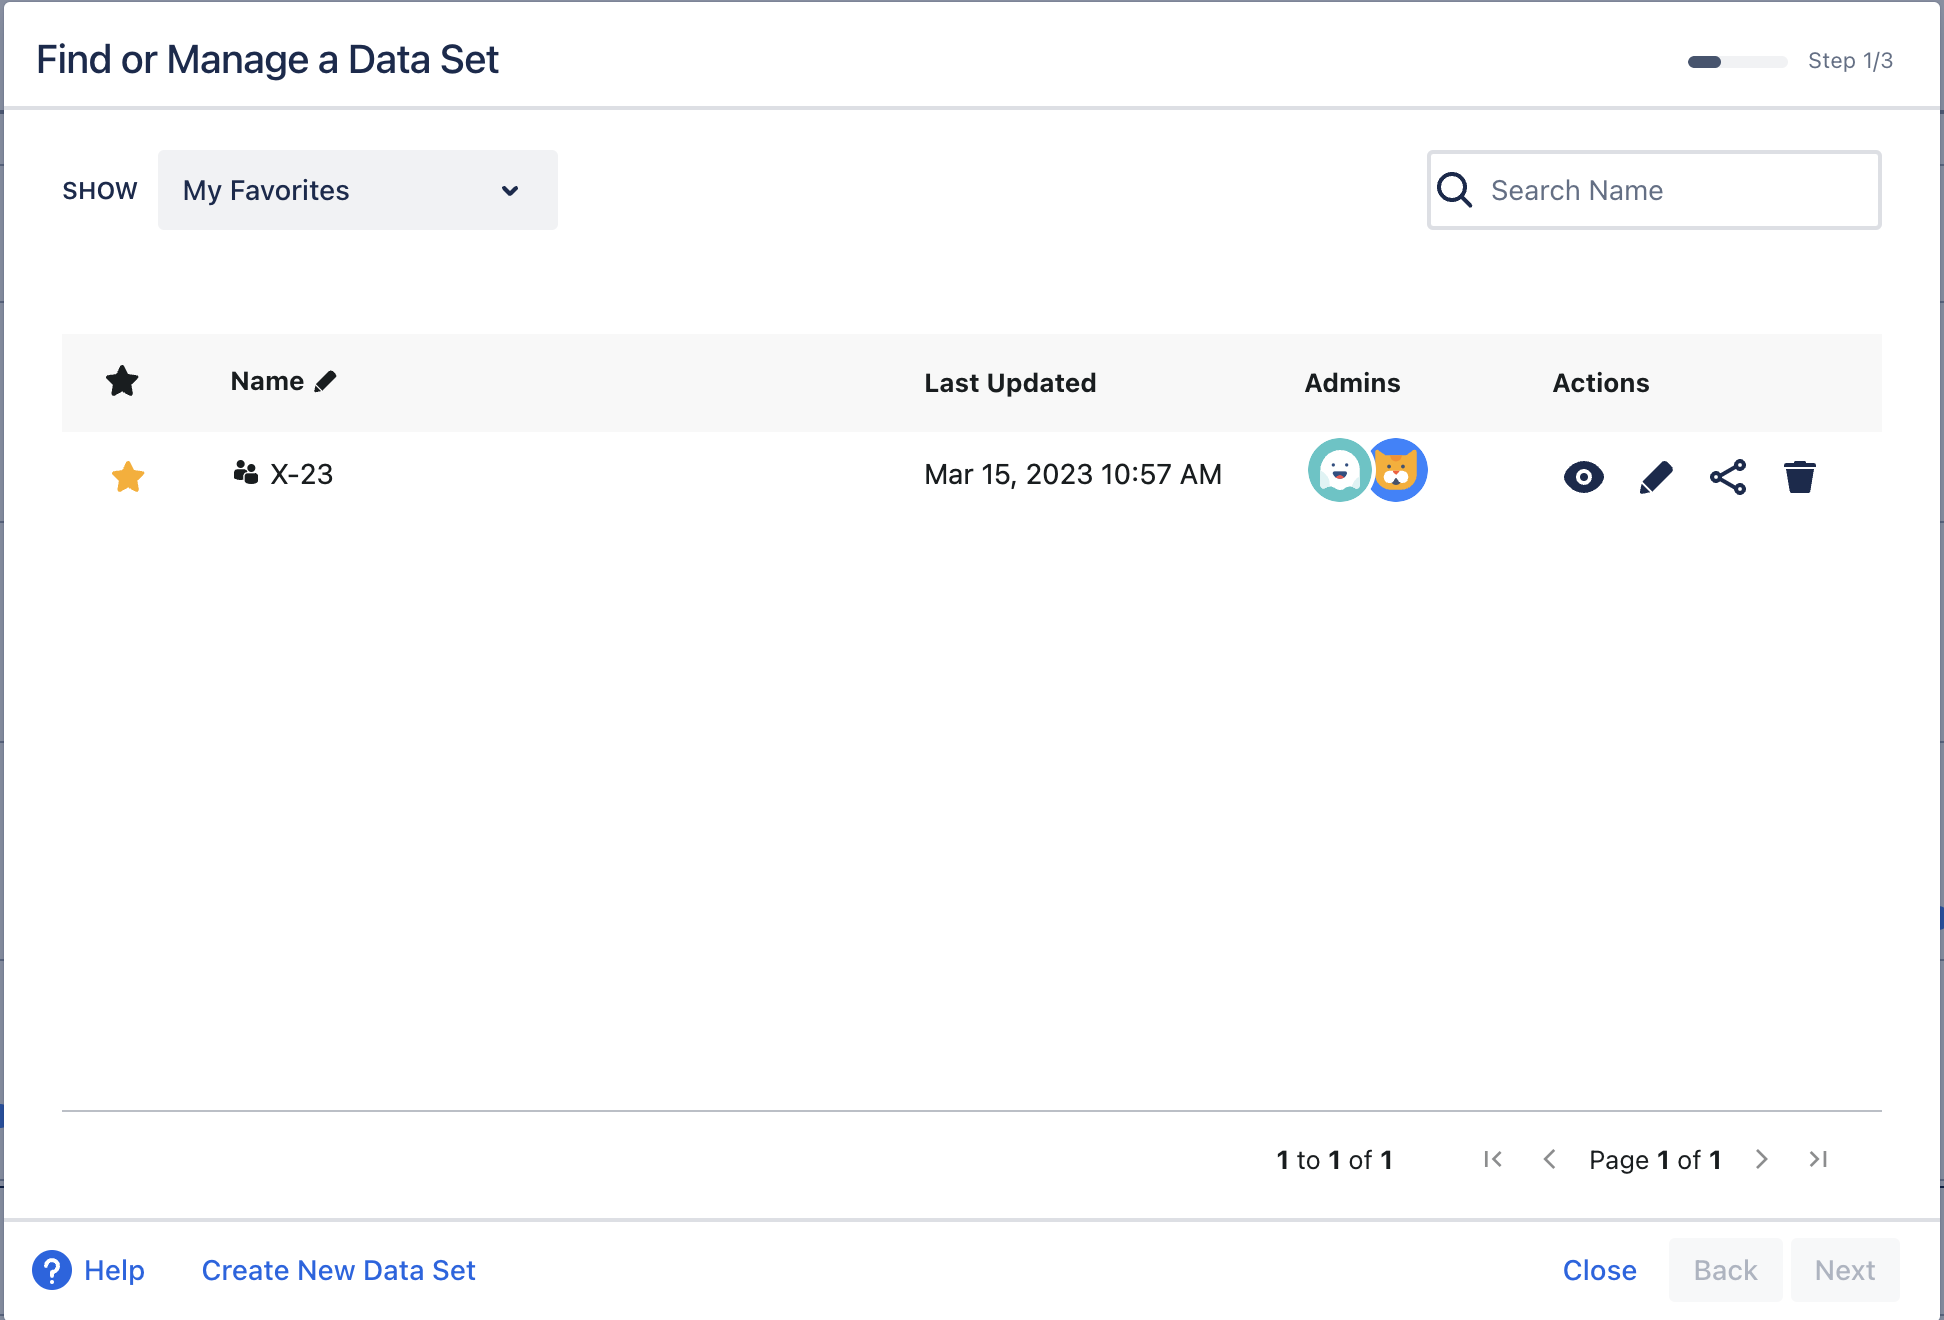
In ActionableAgile we store the last 10 data sets you created by default. When you “star” a data set, it pins it to the top to ensure it doesn’t roll off as you create new data sets.

On this screen you see the data sets you have stored, their names, which ones are starred, and the date last updated.
Editing the name of a data set
You can click on the name and edit the name of the data set directly from this screen.

Editing workflow or additional field selection.
Click the Edit link to go directly to Step 2 of the data set creation process. From there you will be able to see and adjust workflow and then, in Step 3, additional fields.


Deleting a data set
Delete any data set by clicking on the bin (trash can) icon.

Need to change selections from Step 1?
You’ll need to create a brand new data set to change anything found in Step 1 of the data loading process.
Sharing Your Data Sets AVAIL IN JIRA ON-PREM
Sharing is here 🥳 We're so happy to be able to share this with you, and we want to make sure you're able to share your data sets with ease.
Data Sharing is currently only out for Jira Data Center and Server.
A Step-by-Step Guide To Sharing Your Data Sets
Navigate to the Data Set drop-down menu in ActionableAgile™️ .

2. Select Find or Manage a Data Set.

3. On the Data Set you wish to share, navigate to the Share Data Set symbol and select it.

4. In the Manage Permissions window, type the names of those you wish to be Admins and Viewers in the respective boxes.

If you are not the owner or admin of a data set, you won’t be able to share, edit or delete it.
5. When you have added all the names you wish to in the correct boxes, select close and your data sets will have been shared!

If you want to manage permissions again, just select the sharing button again on your chosen data set to get back to the Manage Permissions window.
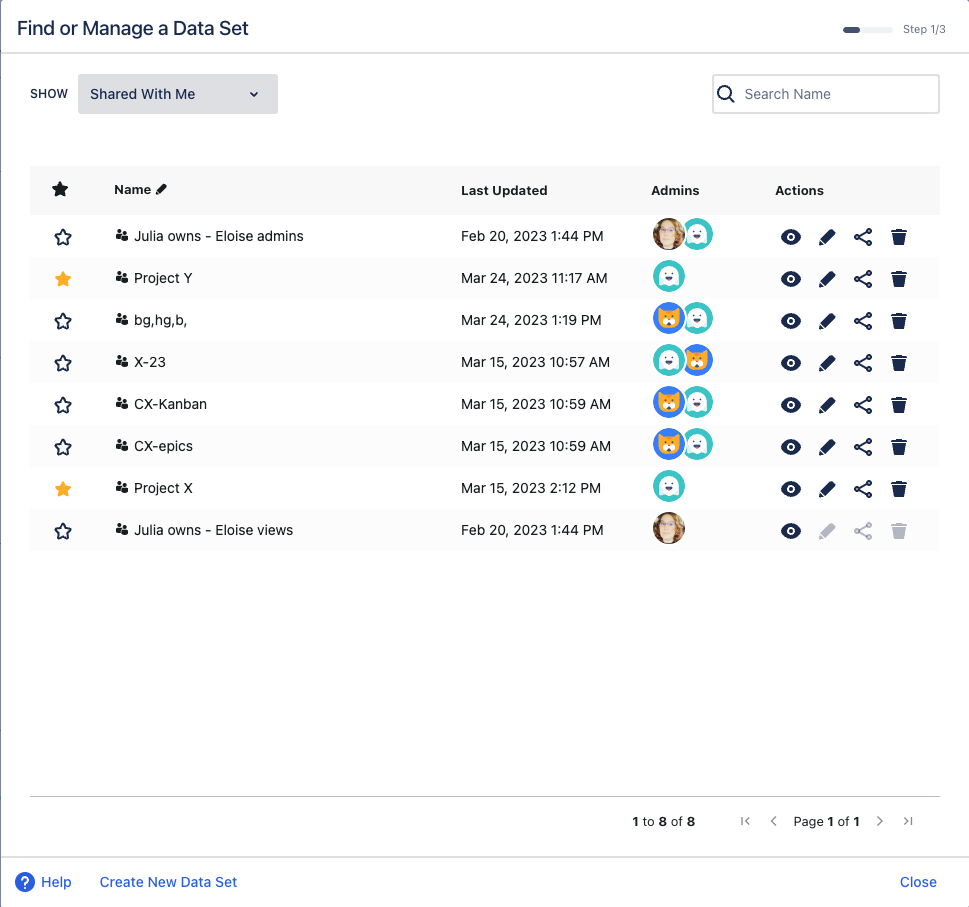
6. To see data sets that have been shared with you, navigate to the drop-down menu in Find and Manage Data Sets and select “Shared With Me”.

You’ve shared your first data set 🎉
We hope the experience was simple and easy, and may you share many more data-sets to come! Thanks for sharing with us!
More About Sharing

Have questions or experiencing problems?
Reach out to us via our support portal and tell us as much as you can about your question or issue and include screengrabs or videos whenever possible.